



Convex
Contents
Convex runs your backend as short-lived isolates, so the usual posthog-node shutdown flow doesn't apply. This doc covers what does: capturing events and flags from Convex functions, matching frontend and backend events to the same person, tracing LLM calls, and syncing Convex tables into PostHog.
| You want to | Use |
|---|---|
| Capture events and evaluate feature flags from inside Convex functions | @posthog/convex component |
| Stitch frontend and backend events into one user timeline | Frontend + backend stitching |
Trace LLM calls or @convex-dev/agent runs | AI observability |
| Query your Convex tables alongside PostHog event data | Convex data warehouse source |
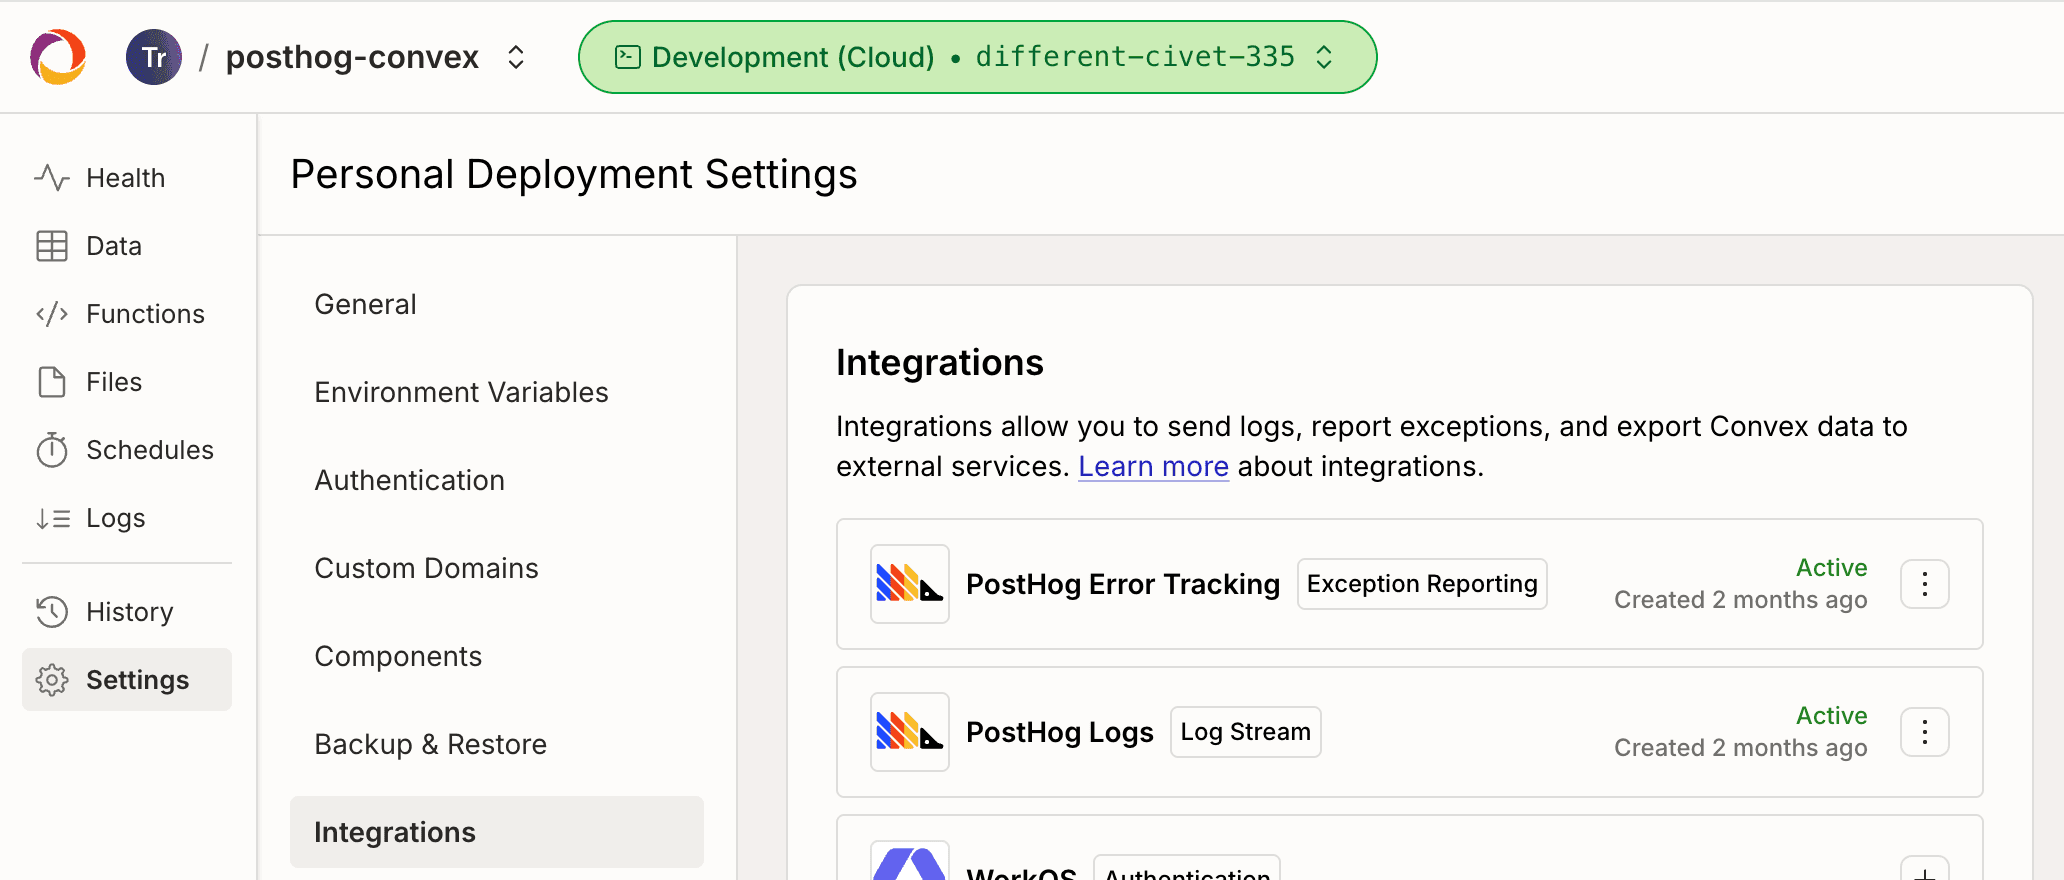
| Forward Convex logs to PostHog Logs | Convex dashboard log streams (no code) |
| Forward Convex exceptions to PostHog Error Tracking | Convex dashboard exception reporting (no code) |
Get your PostHog project token
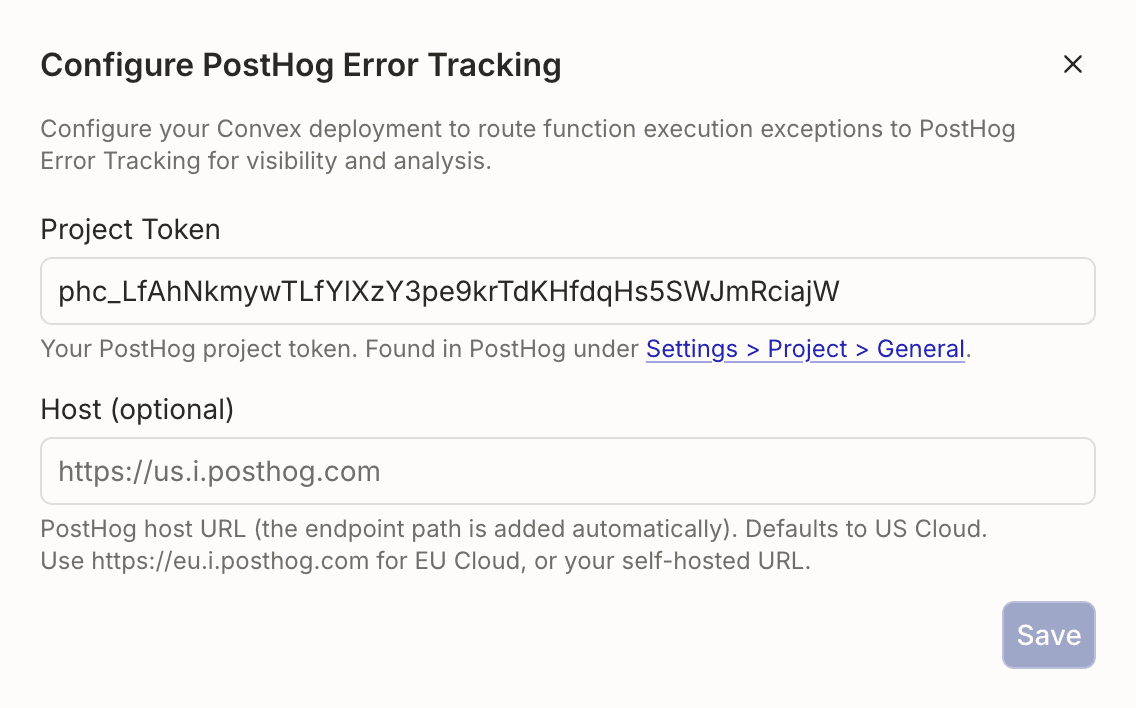
Every integration on this page needs the same two values:
- Project token - Starts with
phc_. Found in PostHog under Settings > Project > General, labeled Project token. - Host -
https://us.i.posthog.comfor PostHog US Cloud,https://eu.i.posthog.comfor EU Cloud, or your own URL for self-hosted PostHog.
Capture events and flags from your Convex code
The @posthog/convex component lets you capture events, identify users, evaluate feature flags, and forward exceptions directly from your Convex queries, mutations, and actions.
Requires Convex 1.39 or newer.
1. Install the component
Register it in convex/convex.config.ts and forward your credentials from the app down to the component:
Environment variables:
| Env var | Required | What it does |
|---|---|---|
POSTHOG_PROJECT_TOKEN | Yes | Your project token (phc_). Sends events and evaluates flags remotely. |
POSTHOG_HOST | No | Defaults to https://us.i.posthog.com. Use https://eu.i.posthog.com for EU Cloud or your self-hosted URL. |
POSTHOG_PERSONAL_API_KEY | No | A feature flags secure API key (phs_, recommended) or personal API key (phx_). Setting it enables local flag evaluation and starts the refresh cron. |
POSTHOG_FLAGS_POLLING_INTERVAL_SECONDS | No | Cron interval for refreshing flag definitions. Defaults to 60. Raise it on free-tier dev deployments to cut function-call usage. |
2. Set your PostHog credentials
For local feature flag evaluation (covered in step 5), also set a feature flags secure API key:
POSTHOG_PERSONAL_API_KEY is checked at deploy time, so after setting it in production you need to redeploy for the cron to register. To skip the cron entirely (e.g. on a free-tier dev deployment), leave the var unset.
3. Initialize the client
Create convex/posthog.ts. Other backend functions import the posthog instance from here. Credentials live on the component, so the constructor just needs the component reference:
4. Capture events and identify users
capture and identify work in mutations and actions. They schedule the PostHog API call via ctx.scheduler.runAfter, so they return immediately without blocking the caller.
Use the same Convex user ID as the distinctId everywhere so PostHog can stitch events from every source onto one person. See stitching frontend and backend below for the frontend setup.
5. Evaluate feature flags
@posthog/convex supports two flag evaluation paths:
- Local (
getFeatureFlag,isFeatureEnabled,getFeatureFlagPayload,getAllFlags) runs against flag definitions cached on your Convex deployment. Works in queries, mutations, and actions. No per-call network request, and a query re-runs automatically when cached definitions refresh. RequiresPOSTHOG_PERSONAL_API_KEY. Use this when you can. - Remote (
evaluateFlag,evaluateFlagPayload,evaluateAllFlags) hits PostHog's/flagsendpoint on every call. Action-only. Handles every flag, including the ones local can't, and needs no personal API key.
Local evaluation runs automatically once POSTHOG_PERSONAL_API_KEY is set. The component registers its own cron at deploy time and refreshes flag definitions every minute, so you don't write your own. Tune the cadence with POSTHOG_FLAGS_POLLING_INTERVAL_SECONDS. If you call a local-eval method without the key configured, the client throws and points you at the remote evaluate* methods.
Read a flag from a query:
A React client subscribed to this query re-renders the next time the cron refreshes flag definitions, up to the configured interval (one minute by default).
To force a refresh between cron ticks (for example, right after creating a flag in development), call posthog.reloadFeatureFlags(ctx) from an action.
If you're running an experiment against a locally-evaluated flag, fire an exposure event yourself from a mutation or action, since local eval can't schedule capture from inside a query:
A handful of flag types can't be resolved locally (experience continuity flags, static cohorts, flags whose targeting depends on person properties you don't pass in). For those, getFeatureFlag returns undefined. Call evaluateFlag from an action to hit /flags directly. See the full list of limitations.
6. Capture exceptions with custom properties
If you want every uncaught exception forwarded to PostHog automatically without wrapping each call site, configure Convex's first-party PostHog Error Tracking destination in the Convex dashboard. Use captureException when you want to attach custom properties at a specific call site:
Stitch frontend and backend events together
PostHog stitches frontend and backend events onto the same person when both sides use the same distinctId string.
Install posthog-js and @posthog/react in your frontend. The example below uses React, but any JavaScript framework PostHog supports works the same way: call posthog.identify() with the same string the backend uses as distinctId.
Initialize PostHog at the root of your app, the same way you would in any React project:
Then, right after a user signs in via Convex Auth (or Clerk, Auth0, etc.), call identify on the frontend with the same Convex user ID your backend uses. The currentUser query referenced below is whatever Convex query exposes the authenticated user to your client (the Convex Auth docs cover defining it):
Mount <AuthSync /> once near the root of your app, inside the <PostHogProvider> and below your Convex <Authenticated> boundary if you have one. The me?._id guard skips the identify call until authentication completes.
Session replays, server-side mutations, exceptions, and logs all land on one timeline for that user.
Remember you'll also need to configure the environment variables on the frontend to point to your PostHog instance.
Trace LLM calls and Convex Agent
If your app calls LLM providers from Convex actions, or uses @convex-dev/agent, forward the traces to PostHog AI observability to capture generations, traces, spans, token counts, latency, and cost per model call.
Setup uses @posthog/ai and OpenTelemetry rather than the @posthog/convex component. The full installation steps live on the Convex AI observability installation page, covering both vanilla Vercel AI SDK or OpenAI calls and experimental_telemetry on @convex-dev/agent.
Sync Convex tables into PostHog
If you want to query Convex data alongside event data, use the Convex data warehouse source to stream your tables into PostHog's warehouse. You can then query them with SQL, join them to event data, and build insights over the union.
Requires a Convex Professional plan for Convex's streaming export API.